Hiking the Continental Divide Trail
Hiking the Continental Divide Trail is, quite simply, amazing. While the Pacific Crest Trail is beautiful, the Continental Divide Trail is rugged, intense, and real in ways you wouldn’t expect. Although I’m not entirely sure I’d want to to thru-hike the PCT again, I would jump back on the CDT in a heartbeat.
The Continental Divide Trail is a choose-your-own-adventure Thru-Hike that runs typically between 2500 miles and 3100 miles from the Mexico and New Mexico border to the Montana and Canadian border. Most hikers hike the trail Northbound, from Mexico to Canada (although I think you’re better off going Southbound).
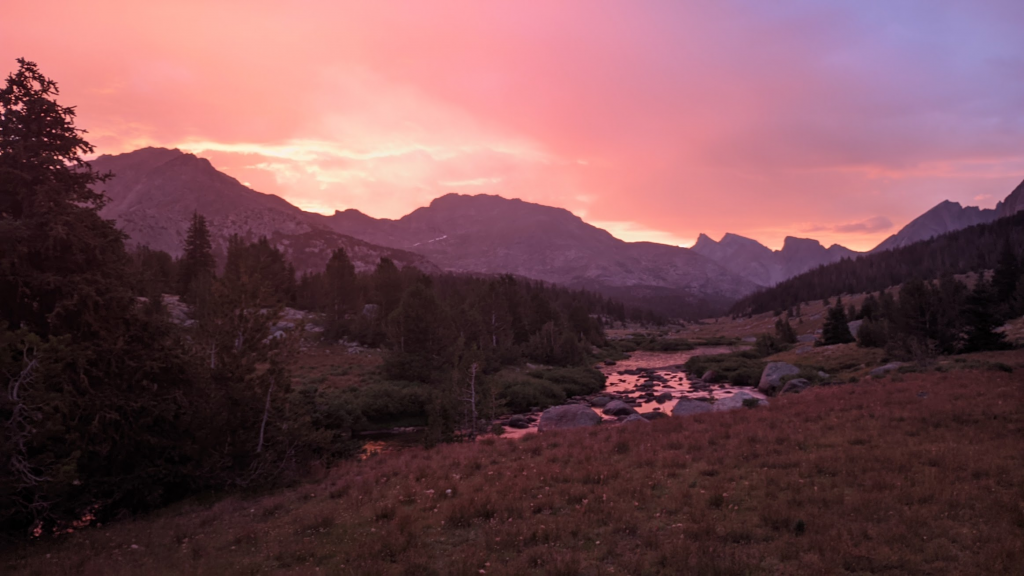
My Experience
I intended to thru-hike the entire trail Northbound from New Mexico in 2021. At the end of June I caught Giardia and had to get off trail near the Wyoming-Colorado border. I went back to the trail in 2022 to complete it.
Rather than continuing the trail from where I left off, continuing to hike north (near Steamboat Springs), I decided I would hike Southbound from Glacier National Park. Unfortunately, the trail had different plans for me. One day before catching my Amtrak to Glacier in mid-June, a winter snow storm came through closing down much of the park. Additionally, 30 miles of trail was off limits due to a Grizzly Bear Buffet that didn’t clear up until July 5th — a pack of Grizzlies was feasting on 6-ish cow carcasses right next to the trail.
Because of these developments, I decided to “flip flop” around the trail to complete it, optimizing weather and hiking conditions. That means I hiked long sections of trail out of order to create a continuous footpath. From this experience, I learned a whole lot about accessing different sections of the trail from remote trailhead locations.
Contents
- Planning Your Thru-Hike
- How Long Does It Take
- CDT Resupply Strategy
- On Trail Navigation
- Water on the CDT
- Getting to and from Trail
- Flip Flopping the CDT
- Gear and Packing List
- What’s the Trail Like?
- CDT Alternate Routes (CDT Alts)
Planning a Thru-Hike
A 3100 mile, multi-month hike can sound daunting. Like with any large project, it’s important to break it down into completable goals.
For hiking the Continental Divide Trail, you’re going to want to:
- Ensure you have sufficient time to complete your goals
- Determine the direction to hike in and your start date
- Develop a resupply plan
- Figure out transportation for getting to/from the trail
- Get your gear list fully figured out
- Make a list of permits you will need and how to get them
- Go Hiking
Ensuring You Have Enough Time
The hiking window to complete the hike is around 125 to 130 days. In general, the best time to start hiking Southbound is the last week of June or the first week of July. The best time to start hiking Northbound is the last couple weeks of April or the first week of May. If going Southbound you will want to get out of Colorado by mid-September, or first week of October at the latest. if you are hiking the CDT as a Northbound thru-hike, you will want to be hiking through Glacier National Park before September 15th.
Recommended Southbound Hiking Duration: July 1st to November 5th (or earlier)
Recommended Northbound Hiking Duration: May 4th to September 8th (or earlier)
Direction of Hiking
Are you hiking the Continental Divide Northbound or Southbound?
The main difference is going to be your experience in Colorado, and your experience in Glacier. Because my hike had me flip-flopping over two years, I got to experience both. I personally think that a quick Southbound thru-hike is probably the best opportunity to enjoy all elements of the trail.
Southbound start dates are heavily influenced by the level of snow in Glacier National Park and the Bob Marshall Wilderness. My 2022 Southbound hike was during a high snow year in Montana. I originally planned to enter Glacier on June 14th, which was too early, and instead entered Glacier on July 4th, when conditions were ideal. I needed microspikes for only one section of trail.
The major bottle neck for hiking the Continental Divide Trail Northbound is the snow in the San Juans. The San Juans are too snowy to safely hike before, approximately, the second week of June. This means you really shouldn’t start hiking North from Lordsburg until late April. I started the trail Northbound on May 5th, and entered the San Juans June 4th, 2021. This was about as early as was possible to enter the San Juans in a relatively low-snow year. Colorado is seriously tough hiking. Adding a lot of snow to a difficult hike can make the experience downright miserable.
Pros and Cons of Different Directions
| Starting Southbound | Starting Northbound | |
| Pros | 1. Your pack is only going to get lighter 2. You start off your trip in one of the most beautiful locations 3. There are fewer people 4. There will be more water for you in Montana 5. If you’re quick, you will hit an amazing, snow-free hiking season in Colorado 6. You might avoid most of the fire season | 1. New Mexico water is going to be better and more accessible 2. You will likely get to the Wyoming Great Basin for better temperatures than SoBos 3. There are more people 4. You can hike Glacier without permits by doing 35-mile days |
| Cons | 1. Your pack is heaviest when you’re most out of shape 2. You’re going to have to get permits for Glacier, which can be annoying 3. The Bob Marshall Wilderness may have dangerous river crossings 3. If you don’t get through Colorado before October, you run into real snow storm dangers and risks 4. New Mexico is going to be pretty cold 5. Wyoming’s Great Basin is going to be very dry and hot 6. There are fewer people | 1. You are going to be waiting for snow to melt in the San Juans 2. Snow on trail in Colorado and Thunderstorms in Colorado 3. Montana is going to be really hot and dry 4. You will likely have smoke and fire closures in Montana 5. There are more people |
CDT Resupply Boxes
You are typically going to be able to hit a resupply point every 3 to 5 days along the CDT. Assume that most resupply stops along the trail likely have food selections similar to what can be found in a well-stocked convenience store or gas station.
People often ask me about resupplying and sending resupply boxes. Unless you’re vegan, or have other food allergies or sensitivities, hiking the Contintental Divide Trail can be done without sending yourself any food resupply boxes. If you are vegan — definitely send yourself packages, you’ll need to. I’m a vegetarian, and had no problems finding food across trail.
The only food resupply box I sent to myself on the entire trail was for Pie Town. The hiker box at the Toaster House is likely good enough to resupply out of for the 110 miles (4 days) to Grants. If the hiker box is inadequate, you can always hitchhike the 22 miles into Quemado. You can also pickup a pack of beer while there to bring back for Toaster House friends. You might also be able to borrow a truck in Pie Town to pickup some things from Quemado.
If you’re going Southbound in late June or early July, and are finished hiking Colorado by mid-September, you can likely avoid sending yourself any packages on trail — you’ll bring your snow gear and bear gear with you to Glacier National Park, and will send snow gear home from Augusta, Montana (or earlier), and Bear Gear can be dropped in Pinedale, Wyoming.
I sent resupply boxes only to the following locations:
- Pie Town, New Mexico (food box) – 2021 Northbound
- Chama, New Mexico (Ice Axe, Microspikes) – 2021 Northbound
- South Pass City, Wyoming (Bear Gear, sent back home when I didn’t make it) – 2021 Northbound
- East Glacier, Montana (Ice Axe, Microspikes, Bear Spray — never arrived) – 2022 Southbound
Resupply Locations
My original Northbound Resupply Plan can be found here. For my Southbound hike, my resupply schedule can be found here
If you are sending a box to Toaster House, here’s the address
YOUR NAME (CDT HIKER) ETA:MM/DD
The Toaster House
603 South of US60
Pie Town, NM 87827
For other resupply box locations, Stephanie Langner pulled together a great resource with shipping information and details. In general, I would strongly discourage mailing boxes for general delivery. Working around Post Office hours can often take days. It’s almost always preferably to call up a private business in the area, and see if they will hold a package for you.
On Trail Navitation
Why I Navigate With a Garmin Watch
A Garmin Fenix is the best navigation upgrade I’ve made to my backpacking kit. It does four things my phone can’t.
- It sips power. The battery is tiny, so a typical power bank tops it up 15-20 times. In my experience it runs about 4 whole days of solid navigation between charges.
- Built-in flashlight. The Fenix 7X (and some other Fenix models) has an LED flashlight. It’s one of the features I use most on trail.
- More time in nature. The course lives on my wrist, so my phone stays in my pocket.
- Off-course alerts. It pings you when you drift roughly 150 feet off the course. It has saved me MANY miles of unnecessary backtracking.
Garmin Fenix 7X Solar Sapphire on Amazon Read my Garmin watch review
Affiliate link: if you buy through it I may earn a small commission at no extra cost to you.
Garmin Courses: CDT Resupply Splits
33 Garmin courses (2,908 miles), one per potential resupply sretch. Download the ZIP, import the TCX files into Garmin Connect, and send them to your watch for easy navigation while on trail!
Each file covers a decent chunk of trail — roughly the stretch between resupply stops (at least the ones I used), with the start and end resupply loaded as named course points. It also includes water points along the way. I split the CDT up because Garmin Connect hates long trails. The stops are the resupply waypoints on my CalTopo route. Several stops sit where the official trail meets a road, not in town: Steamboat is Rabbit Ears Pass, Creede and Lake City are Stony Pass, and Helena is MacDonald Pass. I did the Anaconda cut (for a resupply), but the course I have does the default route through Montana (modify accordingly). The course follows the official CDT everywhere except the Gila and Pie Town stretches in New Mexico, where it uses the standard alts. Several of the Garmin Connect files are over 100 miles (so a few days of use)
TCX files include water waypoints, which I optimized to reduce water carrying concerns
Every TCX course file has water course points built in.
- Reading the names: each name starts with the route mile, then the source, like
25 Water Cache. A~in front (~12 Solar Well) means decent odds, 60 to 85%. A?means it’s the best option in a thin stretch and may be dry. No symbol means 85% or better odds of having water, which is about 3 in 4 of them.
I hiked the CDT before I owned a Garmin watch, so I haven’t personally used these files on trail. As such, there could be some mistakes! The breaks and routes are built from my resupply plan, not from my CDT tracks directly. The tracks come from official CDT route data, and some third-party sources, so accuracy isn’t guaranteed. Make sure to carry your standard backup navigation. If you want to make changes to a longer trail section, split it into smaller chunks with the Trail GPX Converter I made. The converter’s CDT preset now loads with these same water points.
↓ Download all 33 courses (ZIP)
Or grab individual legs (33)
Water Data and Analysis for the CDT
I built out a model to better visualize and assess water availability and quality for the CDT. It estimates how water characteristics change from May to September. I used this data to create a rough course optimization to provide “good” water waypoints for the Garmin course routes I’ve linked to above.
Summary
For a typical year and a northbound schedule, water breaks down roughly like this:
| Section | Chance a source is dry | Chance it’s flowing or better |
|---|---|---|
| New Mexico | 19% | 64% |
| Colorado | 5% | 82% |
| Wyoming | 8% | 74% |
| Southern Montana / Idaho | 12% | 66% |
| Northern Montana | 14% | 67% |
- Colorado will have pretty good water. A source there is dry about 5% of the time and flowing about 82% of the time.
- New Mexico can be pretty dry. About 19% of likely water waypoints will be dry. Northern Montana and (Dry-daho) have about 14% of waypoints listed as dry. New Mexico is also where long carries are common, between stock tanks, windmills, and seasonal creeks.
- The year matters. The odds that a source is dry were about 7% to 8% in the big-snow years of 2019 and 2023, and about 16% in 2026, against 11% in an average year. However, it’s hard to predict which of the diffrent waypoints will be dry or not — there’s more variability than can be easily predicted by stream flow or SWE maps.
- A few water sources are highly variable. Low-elevation ponds, stock tanks, and seasonal creeks (New Mexico especially) can be dry one year and running the next, independent of the year’s weather conditions. The tool I built indicates these sources with a “varies a lot year to year” note and a wider shaded uncertainty range.
Explore it yourself
You can look at a part of the trail on the heatmap to see when it tends to run dry. You can also select a single source to see its seasonal curve and the model uncertainty.
Take It Offline: the CDT Water App
The explorer is great at home. On trail you won’t have signal, so I turned it into an app that works offline. It’s a web app, so there’s nothing to download from an app store.
- Map: the CDT with water sources colored by its chance of good water for any date you pick, and a blue dot for where you are. Turn on “Good only” to hide the questionable sources.
- Next water: a list of the sources ahead of you (and a few behind), each with a bar showing the odds of dry, trickle, flowing, or abundant. Flip between northbound and southbound.
- It supports offline use: open to site once when you have signal, and add it to your home screen. It should download the relevant files to work without an internet connection!
To install for offline use: on an iPhone, open it in Safari, tap Share, then Add to Home Screen. On Android, tap the install prompt, or use Chrome’s menu and choose Install app. The listed probabilities for each point describe typical conditions for a date, not what’s actually flowing. This helps give a good sense of reliability, but of course more recent hiker logs are going to be more accurate.
Methods and Discussion on how I modeled the water data can be found here
Getting to and From Trail
Shuttle Contacts
Jeffrey Sharp (Lordsburg, NM): (575) 519-9111
Wyatt (East Glacier, MT): (406) 854-3905
Southbound Start
The easiest option is to take Amtrak to East Glacier, Montana. Stay at Luna’s Looking Glass Basecamp when you arrive. — there will be tons of other thru-hikers there. You can spend some time coordinating with other hikers for a shuttle service to bring you to the border and to figure out permits for the park, etc.
From East Glacier, Wyatt can be used for arranging shuttling.
If you fly into Kalispell, the most assured option to get to trail is is to get a taxi to Whitefish, and then to take Amtrak from Whitefish to East Glacier. It took me about 10 minutes to find someone to hitchhike with from Kalispell to West Glacier. There are very few flights into Kalispell, so make friends with your seatmates and others on the plane, and see about getting a ride with them to Whitefish, West Glacier, or East Glacier. It took me an hour and a half to get a hitchhike ride from West Glacier to East Glacier. I could have caught an Amtrak in the morning had that not worked out.
When you end at the Southern Terminus, you will need to get a shuttle ride back from the terminus. I encourage calling/texting with Jeffrey Sharp, who runs the Hacita Bike Ranch, once you’re in Lordsburg.
Northbound Start
The easiest option is to take Amtrak to Lordsburg, New Mexico. Stay in the Econolodge, and request the backpackers rate. Coordinate with Jeffrey Sharp to get a ride to the trailhead.
If flying, you will fly into Tucson, and then take Amtrak to Lordsburg. There are also some buses to Lordgsburg, but I recommend Amtrak.
Flip Flopping
The most common flipflop location is to hit the Great Wyoming Basin/Red Desert. This section goes from South Pass City to Encampment. You have several options that do not just involve trying to hitchhike from wherever you are to get there:
- Greyhound Bus to Rawlins. Get the Greyhound from Denver, CO or Salt Lake City, UT
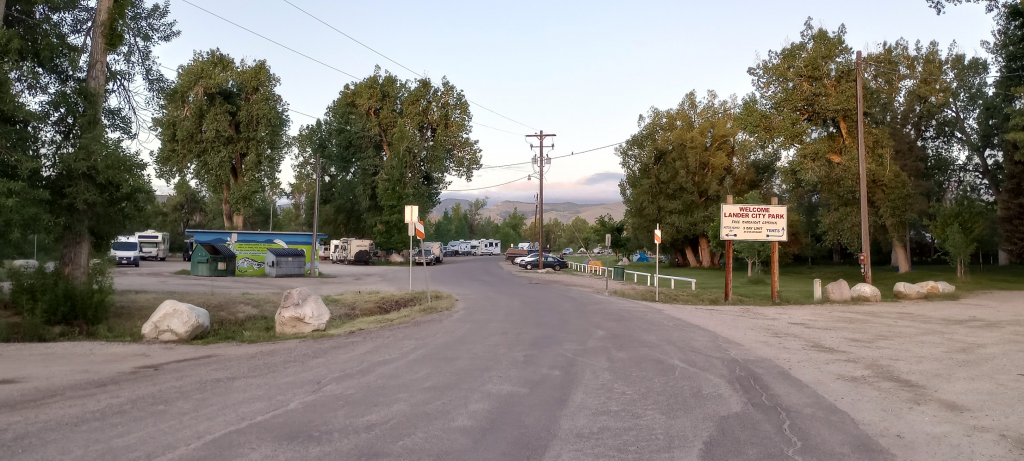
- You can also fly into Riverton, then take a shuttle, taxi, or bus (depending on time of day) to Lander. You will then hitchiking from Lander to South Pass City — this is a very easy hitch.
The hitch from Lander to trail is very reliable. Lander is a great trail town with tons of outdoor enthusiasts that will give you a ride. Getting to Lander from trail is a bit harder, but also very doable. I strongly encourage Stopping in/Resupplying in Lander when hiking this trail.
Permits
The CDT technically has a handful of permits you need.
- Permit for camping in New Mexico ($)
- Permit for going through Blackfeet land in Montana ($)
- Permits when camping in Rocky Mountain National Park, Yellowstone National Park, and Glacier National Park ($$)
All the National Park permits, with the exception of the Yellowstone permits, can be avoided simply by hiking long miles. RMNP is about 25 miles of trail. It’s possible to slack pack this section starting and ending in Grand Lake (hitching back into town)
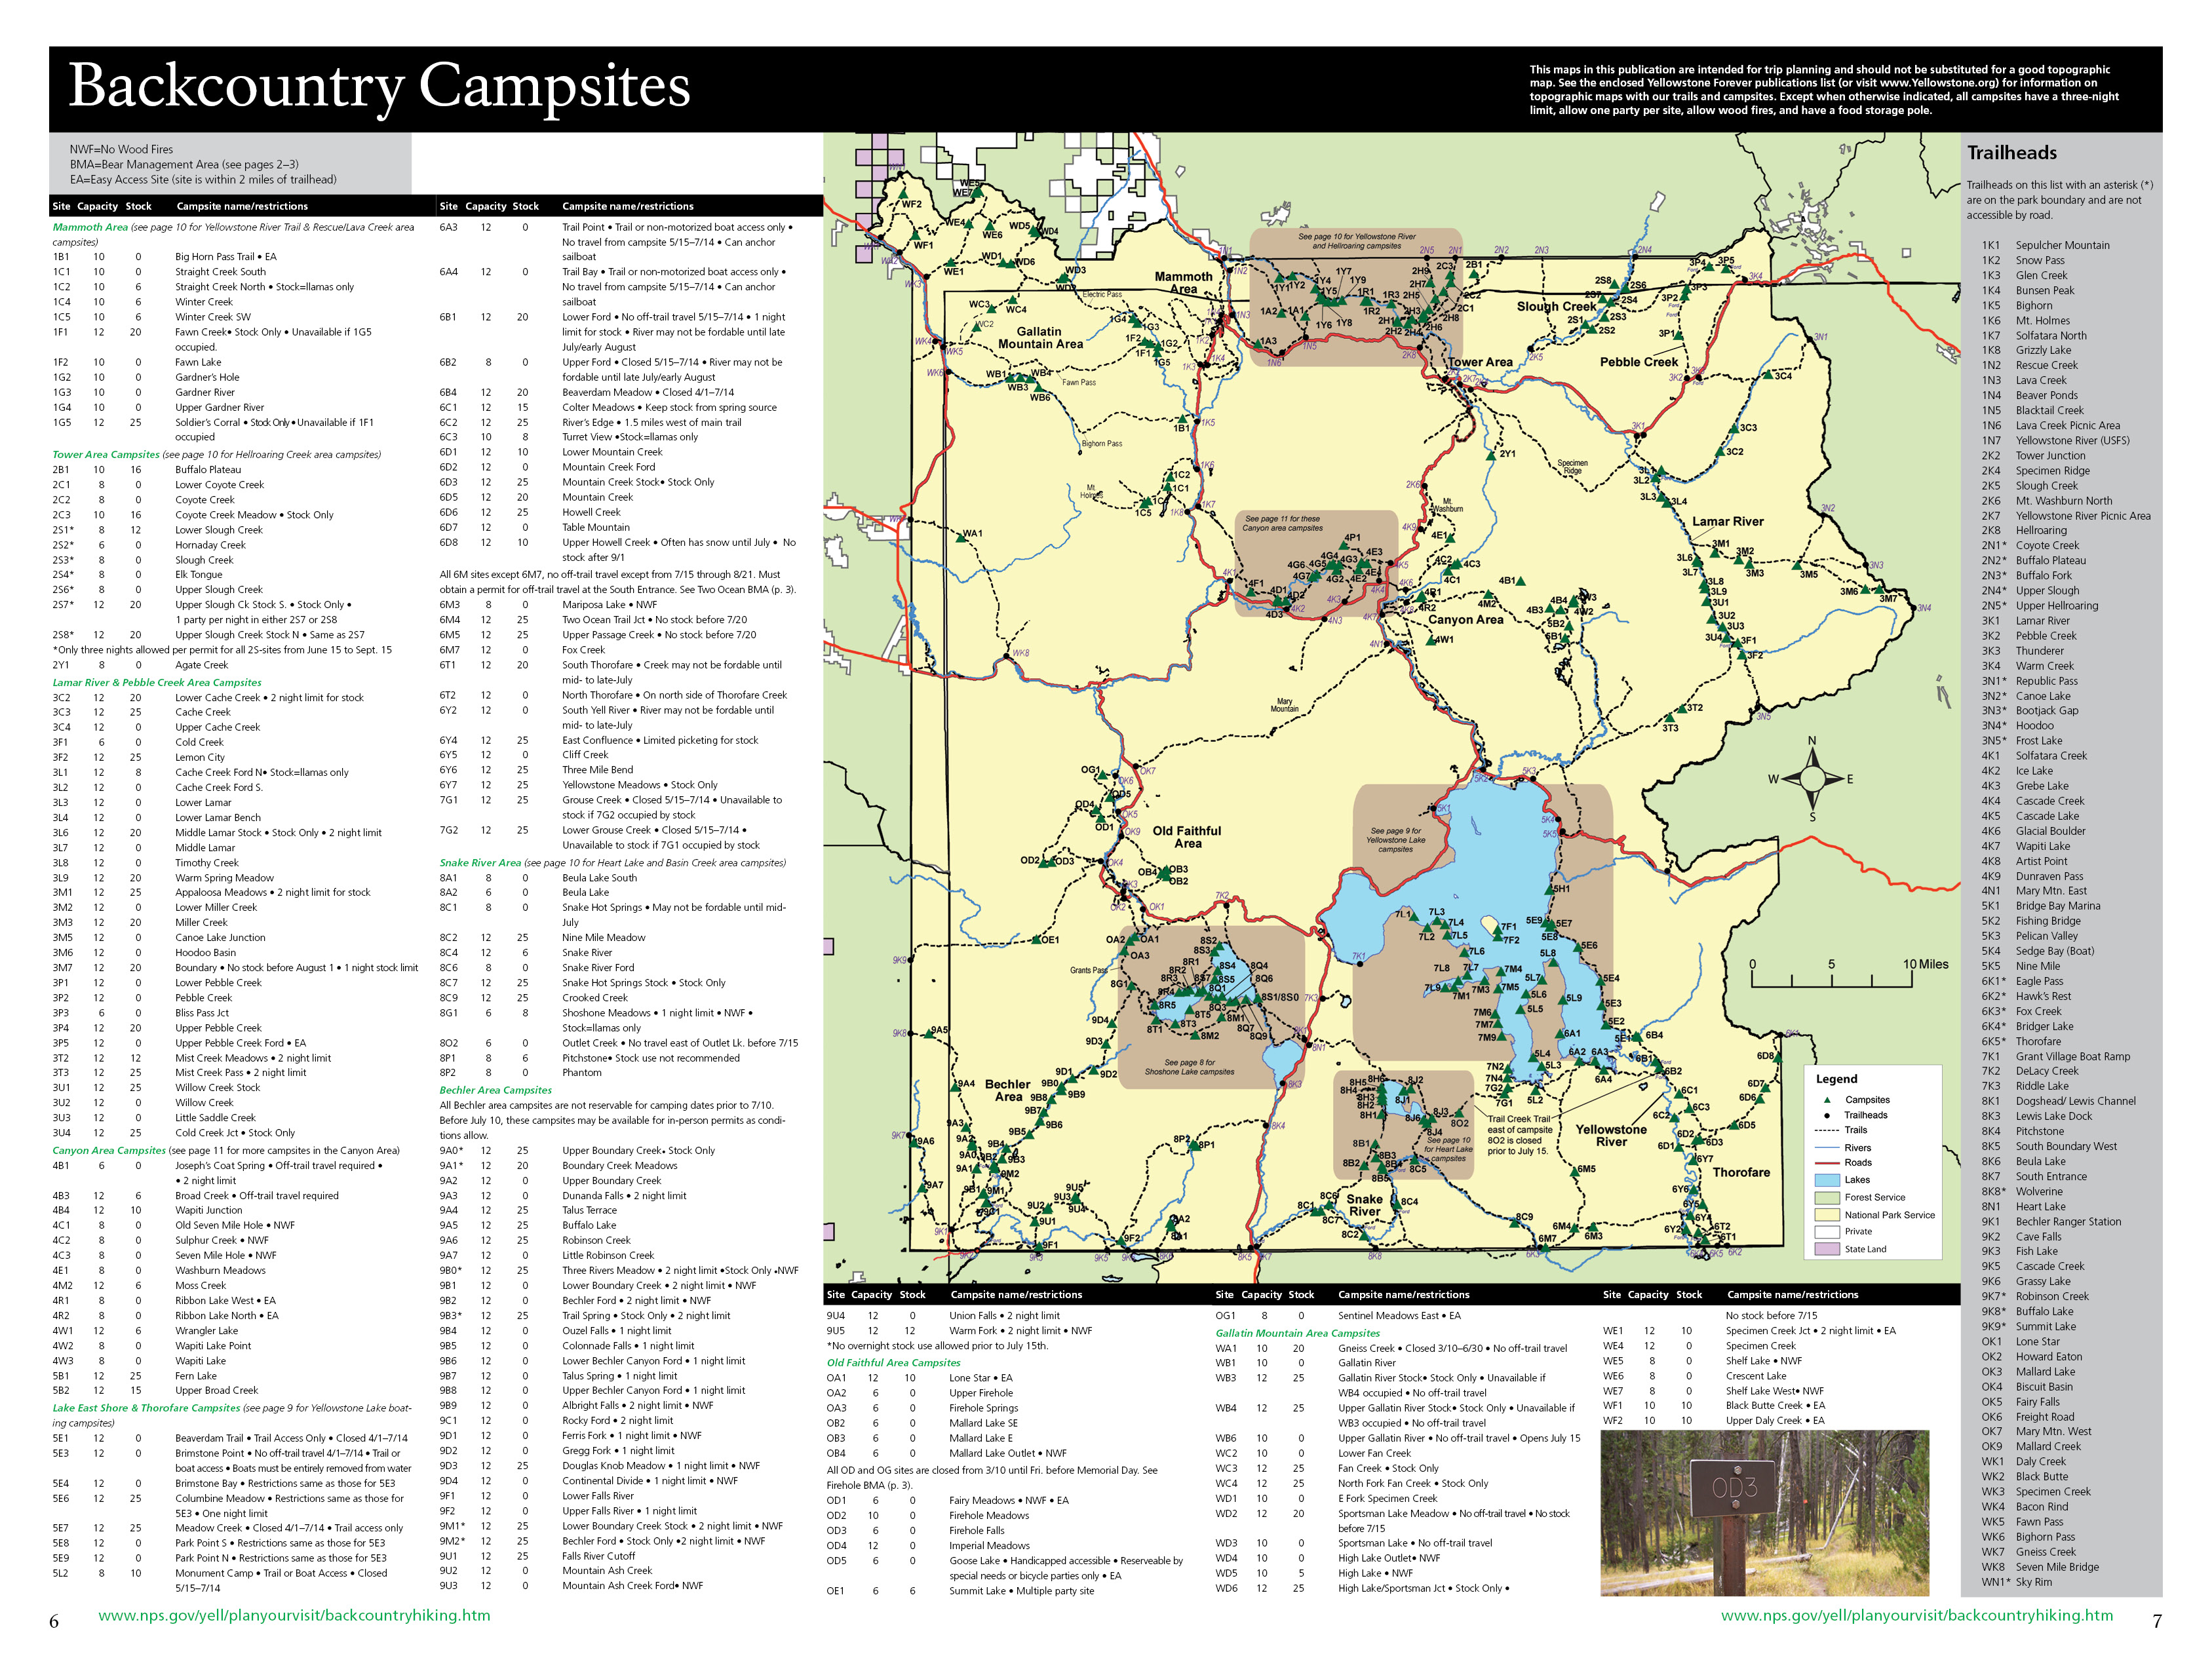
For Yellowstone permits, you should call ahead by at least a day, and see what you can get. Backcountry permit office: 307-344-2160. You can also use Recreation.gov to get a permit, but rangers are much better at dealing with CDT hiker quirks on the phone or in person. Have an idea on a few campsites you want to hit. Here is Yellowstone’s campsite map, and a caltopo file with all the Yellowstone Backcountry campsites and names.
For Glacier, you can book campsites in advance, but they also save numerous campsites for walk-ins the day-ahead. When you get to East Glacier, you can shuttle to Two Medicine (call Wyatt), get the permits, and head back to East Glacier.
Permits go fast in Glacier, so you likely need to be at the permit office before 9:30 AM for the following day. Two Medicine has a backpacker’s campground that you can stay at, which will not be a problem to get.
You can avoid the main Glacier Campsite Permits by camping in Two Medicine (11 mi from East Glacier), camping in St. Mary’s (35 mi from Two Medicine), and camping in Many Glacier’s backpacker’s campground (32 mi from St. Mary’s). If you are going into Waterton you may need permits. If you are Shuttling back from the Chief Mountain border crossing, you are in good shape.
Another option for Glacier permits: LookingGlassBasecamp.com runs a permit listing program that connects hikers to excess permit capacity. When permit holders can’t use their reservations, they list them here — a useful resource if you’re planning ahead or need to pick up permits last-minute.
Flip Flopping the CDT
Flip flopping the CDT — hiking sections out of order to optimize weather and conditions — is more common on the Continental Divide Trail than on any other long trail. The CDT’s geography makes it almost inevitable for some hikers: the San Juans in Colorado are too snowy until mid-June, Glacier’s snowpack varies wildly, and the Great Basin in Wyoming is brutally hot in July and August. When I completed the CDT in 2022, I flip flopped to work around a late snow closure in Glacier and a Grizzly Bear situation near the border.
The most common flip flop is the Great Basin / Red Desert skip. The section from South Pass City to Encampment (Wyoming’s Great Basin) is exposed, waterless, and hellishly hot in midsummer. Many CDT hikers skip it northbound, continue through Wyoming’s Wind Rivers and Montana, then come back to the Basin later in the season when temperatures drop. The logistics: Greyhound from Denver or Salt Lake City to Rawlins, then a hitch to South Pass City. Or fly into Riverton and hitch from Lander — the easiest hitch on the CDT.
A Glacier flip is also common in high-snow years. If you’re northbound and Glacier isn’t ready, you can bypass north to Glacier later in the season after completing southern sections. Conversely, southbound hikers sometimes start in the middle of the trail and work north before conditions close. There’s no right answer — the CDT rewards flexibility. The CDTC’s trail app has good current conditions info that helps with these decisions.
What to Bring?
My Southbound CDT Gear List from 2022 is embedded below. I have other information about gear on my website. In general, I would encourage a backpack that is 40L or less, and going from there.
What’s the Trail Like?
While hiking long trails, I keep friends and family informed of my ongoings through an email listserv. My trail writing is now posted on this website. I encourage you to read my Afterwards to the Continental Divide Trail if you’re interested in hiking the Continental Divide Trail. The full list of emails I sent while hiking the CDT is 👇
I have a shit-ton of photos from the CDT. They have been curated into a slideshow. Short videos I made from my time on the CDT have also been compiled and posted to Instagram.
CDT Alternate Routes (CDT Alts)
More than any other long trail in the US, the CDT has an entire culture built around taking alternate routes. CDT alts range from minor detours that cut a few miles of road walking to full-scale high routes that add days and serious terrain. The trail has no single “official” route — the CDT is more of a corridor than a line, and hikers are expected to make their own choices about which path to follow through it.
For CDT alternate routes, I’d encourage downloading this GPX file with a compiled list of common alternates. The FarOut CDT app also documents most of the major CDT alts with mileage and condition notes.
The main trail is generally excellent. Most of the “Guthook” alternates exist to reduce road walking miles or route around closures. But these CDT alternate routes are worth seeking out specifically:
- The Gila (pronounced Hee-luh)
- The Cirque of the Towers
- Knapsack Col
I heard great things about combining the Teton High Route into the Wind’s.
Although the “Big Sky” or “Super Butte” alternates will cut several hundred miles of trail, I advise against this alternate. “Big Sky” avoids the Pintler Wilderness, which is genuinely great backpacking.