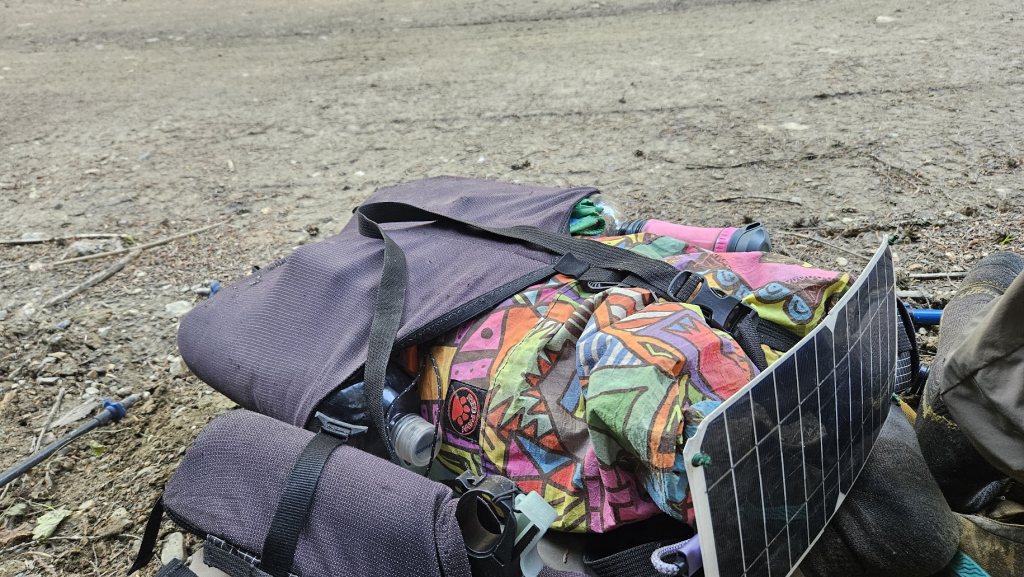
tl;dr: You already own most of what you need for your first overnight. Check the forecast, pick somewhere within an hour of home, camp within 5 miles of the car, and go. The gear conversation makes a lot more sense after you’ve actually been out once.
How Do I Plan My First Backpacking Trip?
The first question is almost always “what do I need to buy?” It’s the wrong question. You probably already own most of what you need for a one-night trip — a school backpack, running shoes, and a sleeping bag borrowed from someone will get you through a first overnight. I’ve met people who completed their first trip with exactly that. Start there.
For your first overnight, the goal is narrow: stay out one night, feel okay, and get home wanting to go again. Short distance from the car (3 to 5 miles), mild and predictable weather, and a campsite you can find without route-finding. Everything else follows from those three constraints.
Weather: The Variable That Actually Matters
Gear, distance, terrain — all of it adjusts to your comfort level. Weather doesn’t. A 55-degree night with a fleece blanket is manageable. A 40-degree night with rain when you’re not set up for it is a situation. Pick your first trip around the forecast, not the calendar.
I use the National Weather Service above everything else. Most apps pull from NWS data anyway. For mountain or coastal terrain, pay close attention to the 24 to 48 hour window and write off anything beyond that — mountains generate their own weather. An 80% chance of afternoon thunderstorms is not a “probably fine.”
Know When to Bail
This applies to every trip. If weather turns outside what your gear handles, if you’re injured, if the route is more than you planned — you turn around. Most backcountry accidents happen because someone decided to push through something they shouldn’t have. The trail isn’t going anywhere.
Bail if: you’re injured or sick and it’s getting worse; weather is outside your gear’s range; trail conditions aren’t safe; or you just feel like you need to get out. That last one is harder to quantify and worth trusting anyway.
Where to Go: National Forest and Dispersed Camping
National Forests are public land. In most of the West, you can camp for free anywhere outside designated campgrounds — no reservation, no fee, no permit. That’s dispersed camping, and it’s how most experienced backpackers actually operate. Gaia GPS will show you public land boundaries. Look for a spot near a reliable water source, on a trail that gets you there in under 3 hours.
For your first trip: trailhead within an hour of home, campsite within 5 miles of the car, route you’ve looked at on a map beforehand. If something goes sideways — gear failure, unexpected weather, you just hate it — you can be back at the car in a couple hours. That proximity matters more than the destination.
Gear You Already Own: The Minimum Kit
For a 1 to 2 night trip within 5 miles of the car, mild weather, no rain anticipated:
- A daypack or school backpack (20 to 35L — doesn’t need to be fancy)
- Running shoes or whatever walking shoe you already own
- Clothes you’d wear for a cool day hike, plus one extra pair of socks
- A fleece blanket or jacket for sleeping (fine above 50 degrees)
- Something to sleep on — a closed-cell foam pad, an old camping mat, a folded tarp
- Two 1-liter water bottles (Smart Water bottles from a gas station work fine)
- Food for 1 to 2 days — more on this below
- A headlamp with fresh batteries
- Your phone with offline maps downloaded, and a battery bank
- Basic first aid: bandages, blister stuff, ibuprofen
That’s actually the list. Everything else is optional for the first trip.
Water
Water is weight and water is safety. Each liter is just over 2 lbs. For a single night close to the car, carry 2 liters and refill from a stream or lake if you can. Most places require filtering. A Sawyer Squeeze weighs about 3 oz and costs around $25 — it’s the first piece of dedicated backpacking gear worth buying, because you’ll use it on every trip indefinitely.
For desert: plan on 1.5 gallons per person per day. Route around water sources. Running low on water in dry terrain is a problem that compounds fast.
Food
Don’t overthink it for the first trip. Trail mix, peanut butter sandwiches, crackers, bars, chips — calorie-dense stuff that doesn’t need cooking. You don’t need a stove for an overnight. Add one later once you’ve decided you’re actually going to keep doing this.
If you want to think about it more systematically, I built a backpacking food optimizer that pulls from USDA nutrition data and filters by calorie density, store type, and dietary restrictions. Useful for trips long enough that the math actually matters.
Sleep
A decent night’s sleep outdoors comes down to two things: warmth and not sleeping directly on the ground. Above 50 degrees, fleece and whatever insulating layers you brought will do it. Below that you need rated insulation — a sleeping bag or quilt rated for the expected low, or a puffy jacket if you’re close enough to bail if it gets cold.
The ground pulls heat out faster than the air does. A $15 closed-cell foam pad from REI is what keeps that from happening — that’s essentially its whole job on a warm night. An inflatable is more comfortable and packs smaller, but a foam pad is basically indestructible and costs nothing to replace. For the first few trips, the cheap foam pad is fine.
Navigation and Phone Setup
Your phone handles more of the backcountry navigation work than most beginners expect. Before you leave: download offline topo maps in Gaia GPS or CalTopo, mark your planned campsite, note the water sources on the route. Cell service doesn’t exist in most backpacking terrain. Offline maps are not optional — they’re the baseline.
Carry a battery bank. A 10,000 mAh bank weighs around 6 oz and will recharge your phone 3 to 4 times. On anything longer than a day, battery management becomes a real planning factor. I’ve written up the full phone and battery setup for backpacking if you want to go deeper on it.
Going Farther: When to Add Gear
Once the short overnight feels easy — which happens faster than you’d expect — the gear conversation starts making sense. You’ll know what kept you up (cold feet, the rock you didn’t notice until 2 AM), what you wished you had, and what never came out of the bag. That’s worth more than any review.
Rough progression:
- 0 to 5 miles out, 1 night: the minimum kit above. Keep it simple.
- 5 to 15 miles, 1 to 2 nights: add a water filter, a shelter rated for rain (a simple tarp works), and a sleeping bag or quilt rated for the expected low.
- Multi-day, remote terrain: a stove starts earning its weight. Add a real first-aid kit, a backup navigation option, and start taking a satellite communicator seriously for anything genuinely remote.
Before buying anything: have you actually encountered the problem it solves? If not, leave it for later.
Shelter
A shelter keeps rain off and bugs out. For mild weather with no rain in the forecast, you don’t need one for your first overnight — sleep under the stars. That’s cowboy camping, and it’s a legitimate choice in dry conditions.
When you’re ready to add a shelter: a tarp and bivy setup is the lightest rain-capable option. A Borah or Gossamer Gear tarp paired with a waterproof bivy cover weighs under a pound total and handles most three-season conditions. A freestanding tent is heavier but easier to set up in the dark and the rain. I run a tarp most of the time and bring the tent when I know I’m heading into sustained bad weather.
The Ultralight Angle
You’ll hear about ultralight backpacking once you spend any time in the hiking world. Quick version: base pack weight (everything except food, water, and fuel) under 10 lbs is generally considered ultralight. Most beginners start at 25 to 35 lbs and work it down over a few trips as they figure out what they don’t actually use.
The upside isn’t just speed. A lighter pack means less joint stress over a long day, higher daily mileage, and the mental freedom to consider routes that feel impossible when you’re carrying 40 lbs. I’ve done the PCT, CDT, PNT, Hayduke, and a handful of other long trails, and getting the base weight down is the single thing that’s made every trip better over time. My current setup runs around 8 lbs for most three-season conditions. It took a couple years of iteration to get there.
Trail Peaches is built around this progression — gear reviews with real mileage behind them, data from thousands of actual gear lists, and firsthand trip reports from long trails. The gear data section is a good starting point if you want to go deeper on any piece of the kit.
What’s Next
A few overnights in, the next thing is usually a multi-day trip on a named trail. The trail guide section covers most major long-distance routes in the US and abroad — conditions, permits, gear, logistics, and what the hiking actually feels like. The guides for trails I’ve done personally (PCT, CDT, Hayduke, PNT, Colorado Trail, and others) have firsthand trip reports and actual itineraries.
For navigation on routes that leave the trail — or trails where “the trail” is a theoretical concept — the navigation page covers Gaia GPS, the Strava heatmap layer, and a few other tools I actually use.